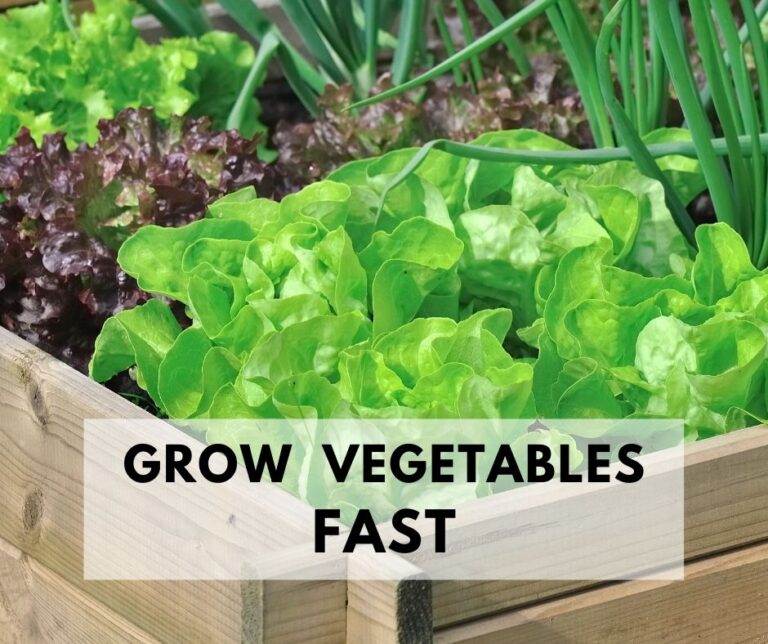
Properly transplanting seedlings into your vegetable garden is an important skill to master for a successful garden.
If you’ve ever moved, you know how stressful it can be. You are tired and probably haven’t eaten right. In fact, moving is listed as one of the most stressful things you can do.
Your plants think moving is stressful, too!
Their little roots have been disturbed. They were used to getting regular drinks and just the right amount of light. Now they have been booted out into the cold, cruel world. Transplanting can be hard!
Transplant shock can damage a plant or even lead to death.
So, just as you prepare for a move to a new house, you must prepare your plants for the move to your vegetable garden too.
This post may contain affiliate links. I will be compensated if you make a purchase after clicking on my links. Please read my disclosure if you have questions.
Thank you for supporting this site with purchases made through links in this post. For Starters Here’s My Amazon Store.

Transplanting Your Plants
You’ve nurtured those vegetable seedlings from seed and taken the effort to harden off your transplants carefully. (Don’t forget that crucial step.)
The day is finally here! You are going to move your little baby (seedling that is) into the vegetable garden. There are a few tips that will make this move a lot less stressful for your little plant.
Choose Your Planting Spot.
- Planning your vegetable garden is an important first step.
- Making sure your soil is the best it can be is the second.
- Good quality, fresh seeds is the third.
Soil.
In order to reduce the stress your plants endure after being transplanted, prepare the soil in your garden or in your larger pots, if you are container gardening, before the move. Loosen the dirt and work in some organic matter so there is adequate drainage and plenty of nutrients available from the very beginning.
Now that that is out of the way, you need to choose your spacing. If you have 15 people in an apartment meant for 2, the people are not likely to flourish. It’s the same with your plants. On your seed packet, it should tell you the ideal spacing. As each type of vegetable (and it even varies between varieties) needs a different amount of space. A pole bean only takes up a small amount of space whereas a watermelon will need far more.
Figure out how far apart each of your plants should be planted. You can use a ruler to space them.
I’ve also seen a shovel or rake turned into a plant spacer ruler by painting space marks up the wooden handle.
I cut spaced holes in corrugated plastic (available at any sign shop) for my own custom seed spacers. You could mark the ground by sprinkling a little flour through the holes. Use your imagination. The possibilities are endless.
Check The Weather.
The best way to ensure that your vegetable transplants will recover quickly from the move into the garden bed is to check the weather forecast before you decide to transplant.
Avoid exposing your transplants to any extreme weather conditions.
The first thing to consider is the timing of when you transplant your seedlings into the garden. You may be in a rush to harvest the first fresh tomato from the garden, but keeping the seedling inside until the weather is right will put you ahead of the game. By doing this you will ensure you have the healthiest and most productive plants in the neighborhood when they begin to bear fruit.
Don’t set your vegetable plants out into the garden until the weather conditions are just right for the crop that you’re transplanting. Why risk having your sensitive plants destroyed by an unexpected late frost, especially if jumping the gun doesn’t provide much benefit?
Transplant On The Right Day.
Now you are ready to transplant them into the garden. If possible, try to transplant them on a cloudy day and water them in well. If no cloudy days are available, set up a shade or wind barrier to help protect your newly transplanted plants. You can use a tarp or canopy tent. I’ve even used a palm frond to shade delicate plants for a day or two. The added shade will allow your plant to recover without added stress. Planting will disturb the roots and they won’t work quite as well as they should for a day or two. Extra water and less sun will help them until they are ready to start sucking up the water and holding it in their cells again.
Try to accomplish the transplanting during the cooler early evening hours of the day as well. This timing gives the plant time to adjust to its new surroundings before the heat and bright sunlight of the day.
Goldilocks Planting – Not Too Hot, Not Too Cold.
Not only do you want to avoid frost, whenever possible, avoid transplanting vegetable seedlings when the weather is expected to be excessively hot.
The absolute best time for transplanting is immediately before a period of drizzly weather or overcast days. (not hard thunderstorms) If you can time your plantings to coincide with these weather conditions your plants may not even notice that they have been uprooted and moved to a new location.

Digging Your Holes
Start by watering the garden bed where your new seedlings are going to be planted. Dry soil will rob water from the new plant if it is not just as wet as what you are planting.
Dig the appropriate size hole before removing the transplant from its container to reduce the length of time that the roots will be exposed. Set the plant into the ground at about the same level that it was growing in the pot.
For seedlings grown in individual containers, you can judge the level and size of the hole by setting the entire container in the hole before you remove the plant.
Tomato plants are an exception to this rule and should be planted much deeper than they sat in their growing container. (up to the first set of leaves) Tomato seedlings treated in this manner will develop a stronger root system by growing roots all along the portion of the stem that is buried underground.
Transplanting Garden Seedling Into The Ground.
Water the plant immediately before digging or removing it from its pot. The moisture helps alleviate stress on the plant.
Okay! You’ve patiently waited while hardening off your seedlings, and now it’s time for transplanting garden seedlings into the soil. Figure out where you want your plants to go and grab a small hand shovel. The hori-hori is a very useful multi-purpose garden tool, and it’s perfect for transplanting. Dig a hole that is the same depth as the root ball of your transplant.
Once your hole is dug, if you are using a pot of some type, put your hand over the top with your fingers gently around the stem. Tip it upside down and gently squeeze or tap the bottom of the container. The transplant should slide out with the roots fairly intact.
The advantage to using a compostable pot such as peat pots or toilet paper rolls is you don’t have to remove the plant from the pot. You just plant it pot and all. Much easier on those tender roots.
Now place the plant in the hole you just dug. You want the soil line in the garden to match the soil line of the transplant – no more and no less. Fill in the rest of the hole with dirt. You don’t want to compact the soil too much, but it’s okay to press around the stem of the seedling a bit to make sure it’s steady where you planted it.
After you transplant your seedlings, give them a good drink of water. Then and only then, move on to the next seedling.
Roots
Be careful to disturb the tender roots of your plant as little as possible. Do not expose them to sunlight, heat, or wind, since they dry out quickly. Instead, only remove each plant just prior to transplanting.
Handling tender vegetable transplants can be a little tricky. Gently and carefully work from the bottom and sides to loosen and separate the plant from its container.
Always handle the plants by their individual leaves or by the root ball. Avoid grasping the plant by its stem, which would be like holding someone by the neck. If the stem breaks, your plant is ruined.
Watering Transplanted Seedlings.
A dose of liquid seaweed in the water that is used to water in your seedlings works well to help prevent transplant shock when setting out the vegetable transplants. The organic seaweed fertilizer will provide a wide range of nutrients and help reduce the amount of stress on the young seedling.
Mulch
After you’ve actually replanted, add organic mulch material to help the soil retain moisture and keep weeds at bay. Leave about an inch of space between the mulch and the plant’s stems, so they can get air circulation which keeps the new plant from developing fungus and disease. Mulch helps the plant adjusts to the new environment.
More Water
It is amazing how much moisture a plant can lose during transplanting, so at this point in the transplanting process you’ll want to add more water to keep the plant moist. Check daily for moisture loss. Depending on the type of plant and the weather, you may need to water it twice a day until it is well established in its new location.
Keep A Eye On Your Transplants.
It is still important to keep a close eye on your new babies for a short while, just in case. Struggling transplants can be saved if you catch the problem quickly. Look for signs such as lack of growth, wilting, or curled leaves to make sure your plant is not suffering from transplant shock. If you notice any of these, act quickly. Adding more water and/or shading the plant may do the trick.
If the temperature starts to dip, you may need to cover your plants with row covers.
Transplanting Garden Seedlings Tips:
The true joy of starting your own seeds comes when you can finally transplant those vegetables into the garden. A reminder of the transplanting steps are:
- Prepare the garden site before you plan to plant. Amend the soil.
- Harden off your seedlings.
- Check the weather: Pick a cloudy day. One that is free from frost or excessive heat.
- Dig the hole the same size and depth as the root ball.
- Fill the hole to the plant’s root line. Tamp down lightly with your hands.
- Water new garden transplants thoroughly, right away.
- Mulch to conserve water and keep weeds away.
- Check for signs of wilt and water frequently for the first week or so.
- Make sure all your seed starting pots are washed, rinsed with diluted bleach and water, dried, and put away, ready for next time.
- Enjoy what you have grown!
Once you’ve successfully transplanted those seedlings, you’ll feel a sense of satisfaction as you watch your new babies grow. You can almost see your thumb get a little bit greener.
Want to read more? Check out these related posts:
Start Seedlings Inside Like A Pro.
12 Important Steps to Hardening Off Seedlings
6 Tips To Grow The First Ripe Tomato In Your Town!
How To Decide What To Plant In Your Vegetable Garden.
Starting A New Garden – A Well-Planned Garden.
Build Million Dollar Garden Soil.
Until next time… Happy Gardening!

Mary is a gardener, backyard homesteader, and duck wrangler. She is also the owner and writer of LifeIsJustDucky.com and AGoodWordADay.com. (for daily devotions) Mary is passionate about helping others expand their backyard homesteading skills and learn to be more self-sufficient, no matter where they live.