

Remember starting your first bean plants in kindergarten? How proud you were to take your new seedlings home to show your mom. Now, Think how proud you will be when you see your garden full of the plants you started yourself.
With some basic knowledge and a few supplies, you will be off and running, filling your whole garden with seedlings you have started yourself. And in turn, filling your kitchen with homegrown veggies you can be proud to feed your family.

This post may contain affiliate links. Please read my disclosure if you have questions.
Thank you for supporting this site with purchases made through links in this post. For Starters Here’s My Amazon Link
Why Should You Start Seedlings Yourself?
You may not be a professional plant grower, but you don’t need a degree in horticulture to grow your own high-quality seedlings. It’s just a matter of a little time and care for your seedlings.
Starting plants from seed is a great way for gardeners to take their hobby to the next level. There’s something incredibly satisfying about seeing a plant blooming in the garden or harvesting a vegetable that you started from a tiny seed.
Whether it is in your laundry room, basement, garage, or a greenhouse, you can get a head start on your garden by starting seeds indoors.

There are a lot of reasons why people decide to start their own seeds.
- Variety – If you buy seedlings you are limited to only a few varieties of each type of plant. with seeds, there are hundreds of varieties to choose from. Think of the flavors!
- Cost – If you have to buy more than just a few, the cost of buying seedlings can really add up.
- Disease and Pest Control – It’s not uncommon to bring diseases and pests home with your new seedlings.
- Timing – The local nurseries don’t always have the seedlings you want ready when you are.
- Increasing Your Gardening Season – By starting your plants earlier than the climate outside will allow, you can add a month or two to the gardening year.
- Increase Your Yield – If you have seedlings ready to go into the ground when another plant is harvested, this will enable you to get more produce from the same space.
- Organic – If you are concerned about your garden being organic the best way to know how they are treated is to grow the seedlings yourself.
- Teach Children – What a wonderful way to teach children where their food comes from. Children who grow their own vegetables are more likely to eat them.
- Take Your Gardening Up A Notch – You are ready for a new challenge.
If any of these things sound interesting, let’s get started.
Before we start discussing how to grow from seeds, it’s important that you have an idea of how many plants you need and what you really want to grow.
Related: 10 Ways To Decide What To Plant In Your Vegetable Garden.

What Vegetables Will You Really Eat?
The beets and the black-eyed peas are longtime staples in a garden, but if you don’t have anyone in your family who will eat them, don’t waste your precious garden space on them. Spend some time really planning what you will eat, before you buy seeds. Read the article 10 ways to decide what to plant, to help you with those decisions.
How Many Seeds Should You Plant?
Before you even buy your first packet of seeds, you need a plan. Probably the biggest mistake gardeners make (me included) is thinking their garden will hold more than it really can. Start a garden journal and map out what you want to grow on the beds that you have. This will help you eliminate a few of the vegetables you are not sure you want.
Another consideration is how many vegetables will your family really eat. Are you planning on canning, dehydrating, freezing, or freeze-drying them or do you only want enough for fresh eating?
Figure out the number you want to grow and start 10% to 20% more seeds than that. Some just may not grow well and we all have a few losses most years. If you end up with extras you can give them to a friend or neighbor or compost them.
Start Slowly.
My greatest advice is, don’t start too large of a garden the first year. If you bite off more than you can chew, you may give up altogether. Start small and grow more next season if you wish.
Start off with one or two flats of seedlings, the investment in time and money with be minimal. You will quickly find out whether or not you want to someday have 10-20 flats to nurture on a daily basis. Starting seeds takes a lot of daily attention. Not to mention you have to plant all those seedlings when the time is right.
Related>> How To Grow Fruits And Vegetables At Home
When Is The Best Time To Start Seeds?
Before you touch the first seed, begin by outlining a plan of exactly what you will plant and research the proper time for each seed to be sown, so that the seedlings will be ready to be set out into the garden as soon as the weather is suitable.
Each type of seed will list the best starting date. It will be X days before your last frost date. That way your seedling won’t be ready to set out in the garden too soon and chance getting frozen.
This means you need to know your average frost dates. If you are in the U.S. you can call your county extension service and they should be able to give you that information.
If you aren’t in the U.S., Ask a nearby gardener, they should be able to help you. It’s good to cultivate a relationship with them as they can help you to figure out what are the best things to grow in your area and troubleshoot any problems that arise. This is a good idea for all gardeners.
The seed packets will give you a “days to maturity” estimate. In my experience, you want to tack on extra days to that, because it always seems to take a little longer. Also, the days to maturity really should start about the time you transplant them outside, not the day you start the seed.
Remember, this information is for temperate zones where it freezes. If you live in Florida or other tropical areas, your growing times will be different. The book I have found to be the most helpful to Florida planting times is Florida Fruit & Vegetable Gardening.
Related: The Ultimate Beginning Vegetable Gardening Course.
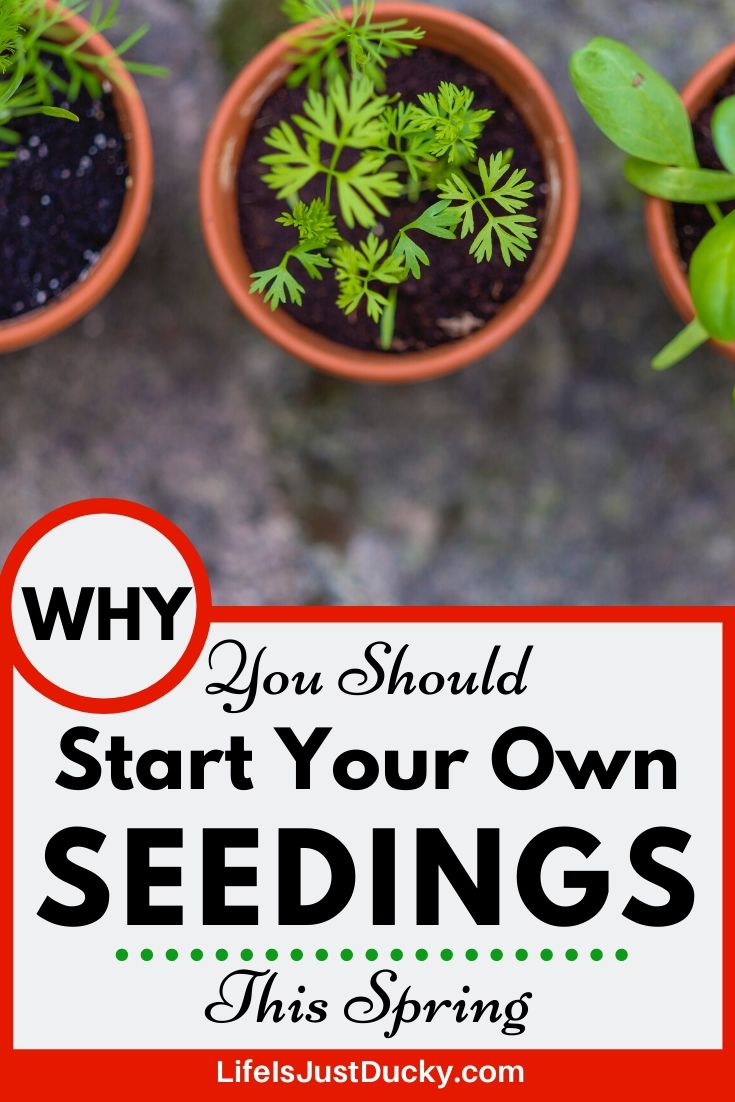
Do All Seeds Need To Be Started Indoors?
No, they don’t. In fact, some seeds are recommended for direct sowing. That means that you can poke them directly into the garden soil. Some plants have very sensitive roots and don’t like to be transplanted, such as carrots and corn. It’s not impossible to start them early, but most of this type of seed do better sown directly in the garden at the proper time.
However, many seeds, especially long growing plants like tomatoes, cucumbers, peppers, broccoli, and eggplant are prime candidates for starting seedlings indoors.
Starting them indoors can put your harvest a month or two ahead or in some cases make it possible to even get a harvest at all. For instance, people in Maine may have a hard time getting tomatoes or eggplant to ripen without starting seeds ahead of planting them in the garden.
Caring For Seedlings
Some people plant 2 or 3 seeds in each pot. Once they emerge you can snip off the weakest and leave only the strongest plant. I personally hate killing perfectly good seedlings so I generally only plant one seed per pot. I just start more pots in case some don’t make it.
Once seeds germinate, they need light, moisture, air, and warmth. The goal over the next few weeks of their young lives is to establish a strong root system and stocky, leafy top growth. This is done by providing good growing conditions at every step along the way.
Investing In Equipment.
Like any new project, you will have to invest in some equipment to get started. But with a bit of care and planning, many of these materials can be used for many seasons to come.
Each new season drops the cost of the initial investment, but after that, it really is not much more than just the cost of the packets of seeds. Moreover, most gardens don’t require using the entire packet of seeds each season, and with the proper storage, you can save seeds from year to year (or save your own) with even deeper savings.
Not every situation is the same, so let’s explore each step and see what you may need, to get started growing your own seedlings.
Related: The Ultimate Garden Tools List

What do your plants need?
Soil
Most call it ‘growing medium’ because it doesn’t actually contain garden soil.
There are a multitude of potting soils on the market, but most of them are not created for starting seeds indoors. For one thing, most of them have very large chunks in them. For another, they may contain diseases that will not be a problem for mature plants but can cause “damping off” in tender seedlings. So it is best to get a “seed starting” mix or make your own.
You can do this by thoroughly mixing: (a part can be any unit of measurement. A cup, a bucket or a wheelbarrow)
- 3 parts peat moss or coconut coir (holds moisture)
- 1 part worm castings or screened compost (food for the new seedling) You really should be raising your own worms!
- 1 part vermiculite (It can absorb and retain several times its own weight in moisture while still holding some oxygen. Allows airflow and makes it easy for roots to grow through)
- a small amount of Cinnamon – 1/2 teaspoon if you’re using a cup as a unit, 1/2 Cup if you are using buckets. ( Cinnamon helps to ward off damping off which kills little seedlings)
Mix it all together with water until it is evenly damp. (be careful not to inhale this, as it can be quite dusty. It’s a good idea to wear a mask if your peat moss is very dry)
Seed Starting Trays/Pots
Here there are so many choices as to what you can use and there are pros and cons to all of them. I’ll discuss several but this certainly is not an exhaustive list. Try several. Use whatever you like to grow your seedlings.
Seed planting kit $$- These seed planting kits come with a bottom tray, top domed lid, and 20 Pieces Plastic Plant Pots.
Pros: Complete setup. Easy to use, will last for years.
Cons: These are a bit pricey.
Cell-pack containers $ – Cell Trays. These you may be familiar with in commercial growing operations.
Pros: inexpensive, uniform.
Cons: Hard to get just one plant out at a time, easily destroyed.
Peat pots $ – Peat Pots are composed of Peat moss compressed into the shape of a pot. You will plant this pot and all.
Pros: the roots are not disturbed when you plant it.
Cons: The peat is compressed so tightly that sometimes it is hard for the roots to go through the pot. Not reusable.
Soil Blocks $$ – A soil blocker is a more practical option if you have a very large garden or small farm. You actually have no pot, you just compress the soil. (here’s a link to a DIY soil block maker)
Pros: Cost. The cost upfront is high, but you will never need to replace it. Nothing to store but the blockmaker.
Cons: Labor intensive. Takes a bit of skill. Soil can fall apart easily.
Recycled pots (0-$) – Yogurt or sour cream containers with holes poked in the bottom.
Pros: They are Free.
Cons: Not necessarily uniform size. You need to eat a lot of yogurt.
Toilet paper rolls (0-$) – DIY seed starting containers.
Pros: They are Free. The roots go through them very easily. Plant the pot and all. (this is the only container that I have used successfully to plant the “recommend direct seed”.)
Cons: You have toilet paper rolls laying around all year driving your husband (or wife) crazy. (What? Are you talking about me?) Some assembly is required. You have to cut and fold the bottoms.
Most of these will require some sort of waterproof tray to hold them and allow bottom watering.
- At first, the seedlings don’t take up much space, but as they grow, they may need larger pots. Consider this when choosing your seed starting pot size.
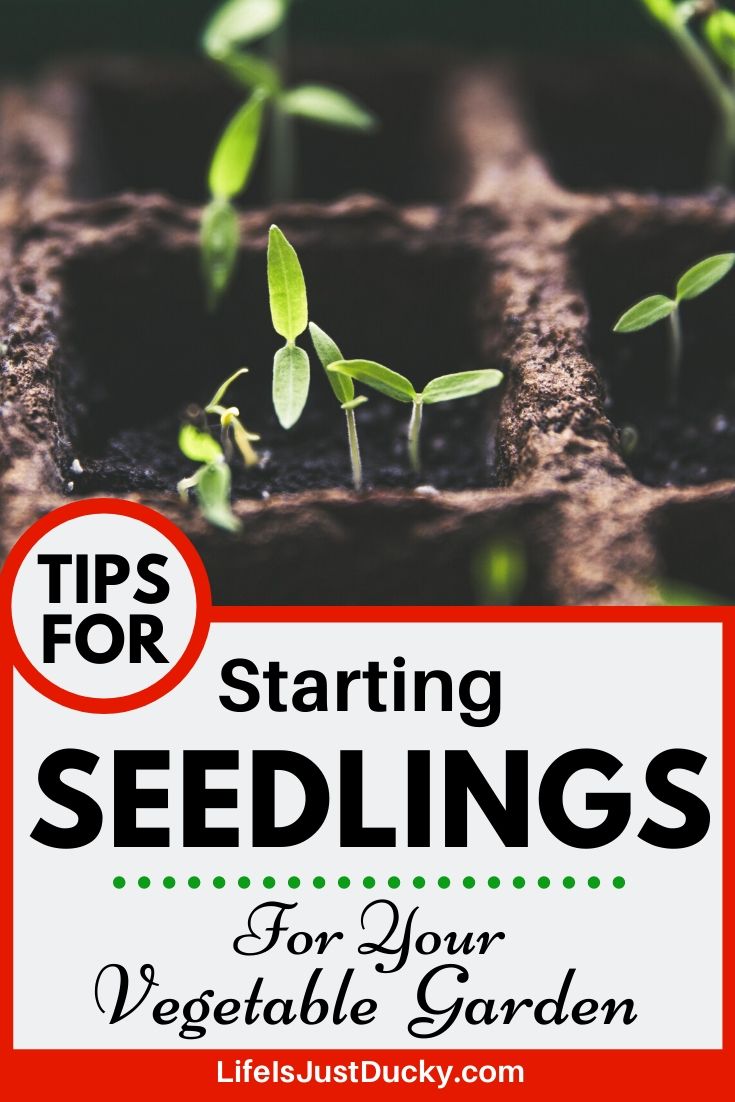
Seed Starting Rack
For starting seedlings indoors, you will probably want a seed starting rack. Two things that will determine what size you will get is the space in which you have to put it in, and what size lighting fixture is available.
If you have the room, a 2′ x 4′ shelving unit is a standard size and will work very nicely. This will enable you to attach a 4′ two-bulb fluorescent shop light to each shelf.
Consider adding a tray that is waterproof or think about where you are putting it and protect walls and wood floors etc. Pressboard shelves will absorb water and disintegrate. Metal or plastic shelves would be a better choice. Think about where you will store this after the season is over, as well.
Lighting
A good light source in the most important requirement for successfully growing healthy transplants from seed indoors.
As soon as the first leaves emerge on your seedlings, they need as much light as you can give them.
Specialty grow light systems are available but are quite pricey. A more economical option that will work fine are fluorescent shop lights.
Keep your seedlings within 2 to 3 inches of the bulbs for 12-14 hours each day. Flooding the plants with light helps them grow short and stocky rather than thin and leggy.
They also need a period of darkness each day to rest as we all do. Using a timer is a great way to control this. You may also want a power strip to plug several lights into.
A 4′ – two bulb fluorescent fixture is ideal. You will want to get one red spectrum (warm) and one blue spectrum (cool) bulb to put in it with the highest lumens you can find. (make sure your pins match).
You will also need an adjustable chain to hang it with, as the light needs to be kept 2″ to 3″ above the seedlings at all times. Raise the light as the seedlings grow.
If you are using more than one shelf, you will need an additional lighting fixture for each shelf. But if you are starting small, you may only need one the first year.
I really believe that this is the main reason most plants fail when started from seed – there just isn’t adequate light.
Tip: Try to plant seeds with similar growth habits and needs together. For example, if you have kale, broccoli, and kohlrabi sharing the same flat, they will all grow at about the same height, mature at a similar rate, and can each be transplanted out into the garden at the same time.
Related: How To Transplant Seedlings – Tips For Success.
Air
When starting seedlings indoors, good air circulation is important from the start. If you use covers over your trays during germination, they should be removed as soon as you see the first leaves peak through the soil.
Keeping a small “personal sized” fan on the young seedlings (on it’s lowest setting) will help keep diseases in check (damping off) and help young plants grow stronger because it imitates natural outdoor wind conditions. It also helps to run your hand over the top of the plants every day or two to toughen them up a bit. It’s like “exercising their muscles”.
Moisture
When watering overhead, use a fine mist, fogger, or spray bottle. If the soil dries too much with this type of application, you can water by placing the seed tray, peat pots, or soil blocks into a shallow tray of water, allowing the water to “wick” upward in the soil.
I’ve found that misting works well for the first week or so of seed starting, then bottom watering works better thereafter. (this is key to good root development).
Food
After the second set of leaves, you should provide fertilizer. a well-balanced water-soluble fertilizer is best for this and can be added as the seedlings are watered. Alaskan fish fertilizer, kelp/fish emulsion, or worm castings tea is ideal for this. Make sure you dilute them well. 5 parts water to 1 part fertilizer or as directed on the container.
Warmth
The placement of the seedlings should be in a spot with an even and preferably warm temperature. Cold temperatures will affect your seedlings. For instance, if it is too cold, phosphorus will lock up in the soil and be unavailable to the seedlings, which can stunt your young plant.
Many seeds will not germinate until they reach a certain temperature. If the place you wish to put your seedlings is not warm enough, you will need to use seed-tray heating pads. These are waterproof pads that you place under the trays to help boost the temperature of the soil and root system. Bottom heat is more important than the air temperature.
Most seedlings prefer temperatures between 60-80F
Buying Your Seeds
Heading the list of seed starting supplies, are of course the seeds themselves. As I mentioned above, a big advantage of growing your own plants from seed is that it allows you to enjoy unique varieties of plants that aren’t typically offered in the local big box store.
There are so many seed companies that it would make your head spin. Type into Google “seed companies” and see how many come up. Click on a few and get on their mailing list. There is nothing like curling up on the couch in the dead of winter and looking through the seed catalogs.
I have many favorites. Some for the selection they have, some for their great prices. There are also organizations such as Seed Savers that promote the saving and sharing of open-pollinated seeds between gardeners all over the world.
Maybe you like to do your browsing online. If so here are a few of my favorites.
SeedsNow – Low prices, Smaller packs available for the small size garden.
True Leaf Market – They have a good selection of seeds and a great selection of microgreen seeds and supplies.
Seeds For Generations – Good selection, Good prices, Family Owned.
Start by ordering seed catalogs {or browsing online catalogs}. Make a list of everything you want to grow and research the varieties. This is your chance to grow varieties that you would never find in your grocery store.
RESIST the temptation to go nuts ordering. (I know, I know this is SO HARD!)
Most seed companies provide a tremendous amount of useful information including:
- How deep to plant the seed in the growing medium.
- Disease resistance.
- Whether it is a Hybrid or Open Pollinated.
- Organic or Not.
- Whether the seeds like warm or cooler temperatures.
- When to plant the seeds in relation to your estimated last frost date.
- How long it should take from seed (or planting outside) to harvest.
- Germination rates (how many seedlings should survive).
- Average days to germination.
- Recommended Spacing
- Any preparation the seeds need, such as presoaking or chilling in the fridge before planting, or scarifying (scratching the seed surface). Don’t worry though – most just get planted without any prep.
And so much more. The seed packets often have good information for planning your planting schedule.
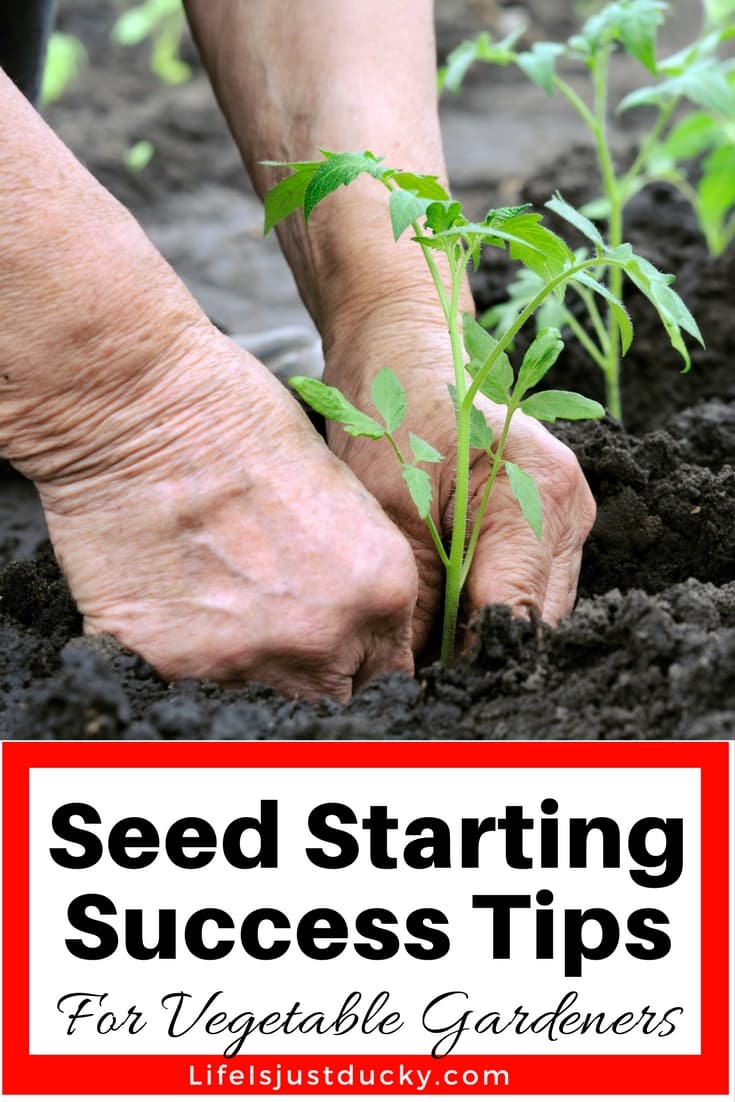
Planting
Now that you have your equipment assembled you can plant your seeds and cover them with enough soil mix to place the seeds at their recommended depth. That is generally equal to the thickness of the seeds. Lightly firm the soil to ensure good contact with the seed to the soil, which is important to help them germinate.
(there are very few seeds that need light to germinate. They must be placed on top of the soil. The seed packet will inform you if this is the case.)
Water the pots to keep the soil moist and do not allow the soil to completely dry out, or become waterlogged. Cover the flats with a humidity dome or put a piece of plastic wrap over the top to conserve moisture and increase humidity levels as your seeds need moisture to sprout.
Now you need to patiently wait for your seedlings to make their appearance be sure to keep a close eye on them so that you can add water as needed and remove the humidity dome as soon as the seedlings break through the soil’s surface. Start the fan when you do this as this is your plant’s most vulnerable time.
TIP: For favorite plants like tomatoes, I start a few backup plants every week or two so I’ll have spares in the event that one batch fails.
Related: My Garden Journal – Planner
Labeling Your Seedlings
Another important part of planning involves labeling. Even experienced gardeners may have difficulty distinguishing between seedlings when they first germinate, and if you want to track and compare the performance of similar varieties, such as different varieties of tomatoes, then identification and labeling from the beginning is a must.
Recording where you plant them in your gardening journal will remove confusion later on and allow you to rotate your crops properly.
If everything goes as planned you will have flats of vigorous, well-developed vegetable transplants that you raised from seed and prepared to transplant into the garden.
Garden Journal – Write It Down
Keeping a garden journal is very important right from the start. You want to keep good records during the seed starting process and all through the growing year. You think you’ll remember which plants liked water, heat, or did better with this or that.
You won’t! Take notes, so that next year, you don’t have to learn the same lessons all over again.
- Make notes of everything you do so you can figure out what works best for the future.
- Keep notes on the growth progress – this becomes invaluable for next time.
- Record what varieties performed or tasted the best.
- Record the dates and the weather. This may be important the next time you plant.
- Record your pests and diseases. These often have a “season” planting a week or two later might miss that season.

Don’t put off getting your seed starting supplies in order. A new growing season is right around the corner and you’ll want to make sure that everything’s on hand that you’ll need to grow your own transplants indoors.
Starting your own plants from seed will open up a world of thousands of beautiful and delicious fruits, vegetables, flowers, and herbs that you won’t find growing at your local garden center. But you can easily grow them in your basement or in a corner of a spare room.
Want to read more? Check out these related posts:
12 Important Steps to Hardening Off Seedlings
Transplanting Your Garden Seedlings For Success!
6 Tips To Grow The First Ripe Tomato In Your Town!
How To Decide What To Plant In Your Vegetable Garden.
Starting A New Garden – A Well-Planned Garden.
Build Million Dollar Garden Soil.
The Ultimate Beginning Vegetable Gardening Course.
Until next time… Happy Gardening!
Did you like this post? Then, I’d love it if you’d share it!
Want some more top posts? Check out this list of Readers Favorites.
Happy Gardening!

I believe everyone can grow at least part of their own food! Let me show you how.
Mary is a gardener, backyard homesteader, and duck wrangler. She is also the owner and writer of LifeIsJustDucky.com and AGoodWordADay.com. (for daily devotions) Mary is passionate about helping others expand their backyard homesteading skills and learn to be more self-sufficient, no matter where they live.


Thanks for sharing such an informative article!
Glad you liked it. Please share it so others will get to see it too.